

HOW TO FOIL ON A VINYL DECAL WITH SILHOUETTE AND FOIL QUILL


Click Here to Order Your Foil Quill by W R Memory Keepers!
Putting foil on vinyl has never been easier than it is now with the Silhouette and Foil Quill.
In this tutorial I will show you exactly how to add foil to a vinyl decal AND make sure it doesn't rub off!Using the Foil Quill to add foil to vinyl is actually the second step in the process, which make this Part 2 of the Making Foil and Vinyl Decals tutorial. The first part of this Silhouette project is to set up the design in Silhouette Studio. The process of How to Set Up a Foil and Cut in Silhouette Studio with Foil Quill is explained in this tutorial. It also includes the free designs you can download to follow along!
Now that you have your design set up, let's move on to actually foiling and cutting this vinyl decal!
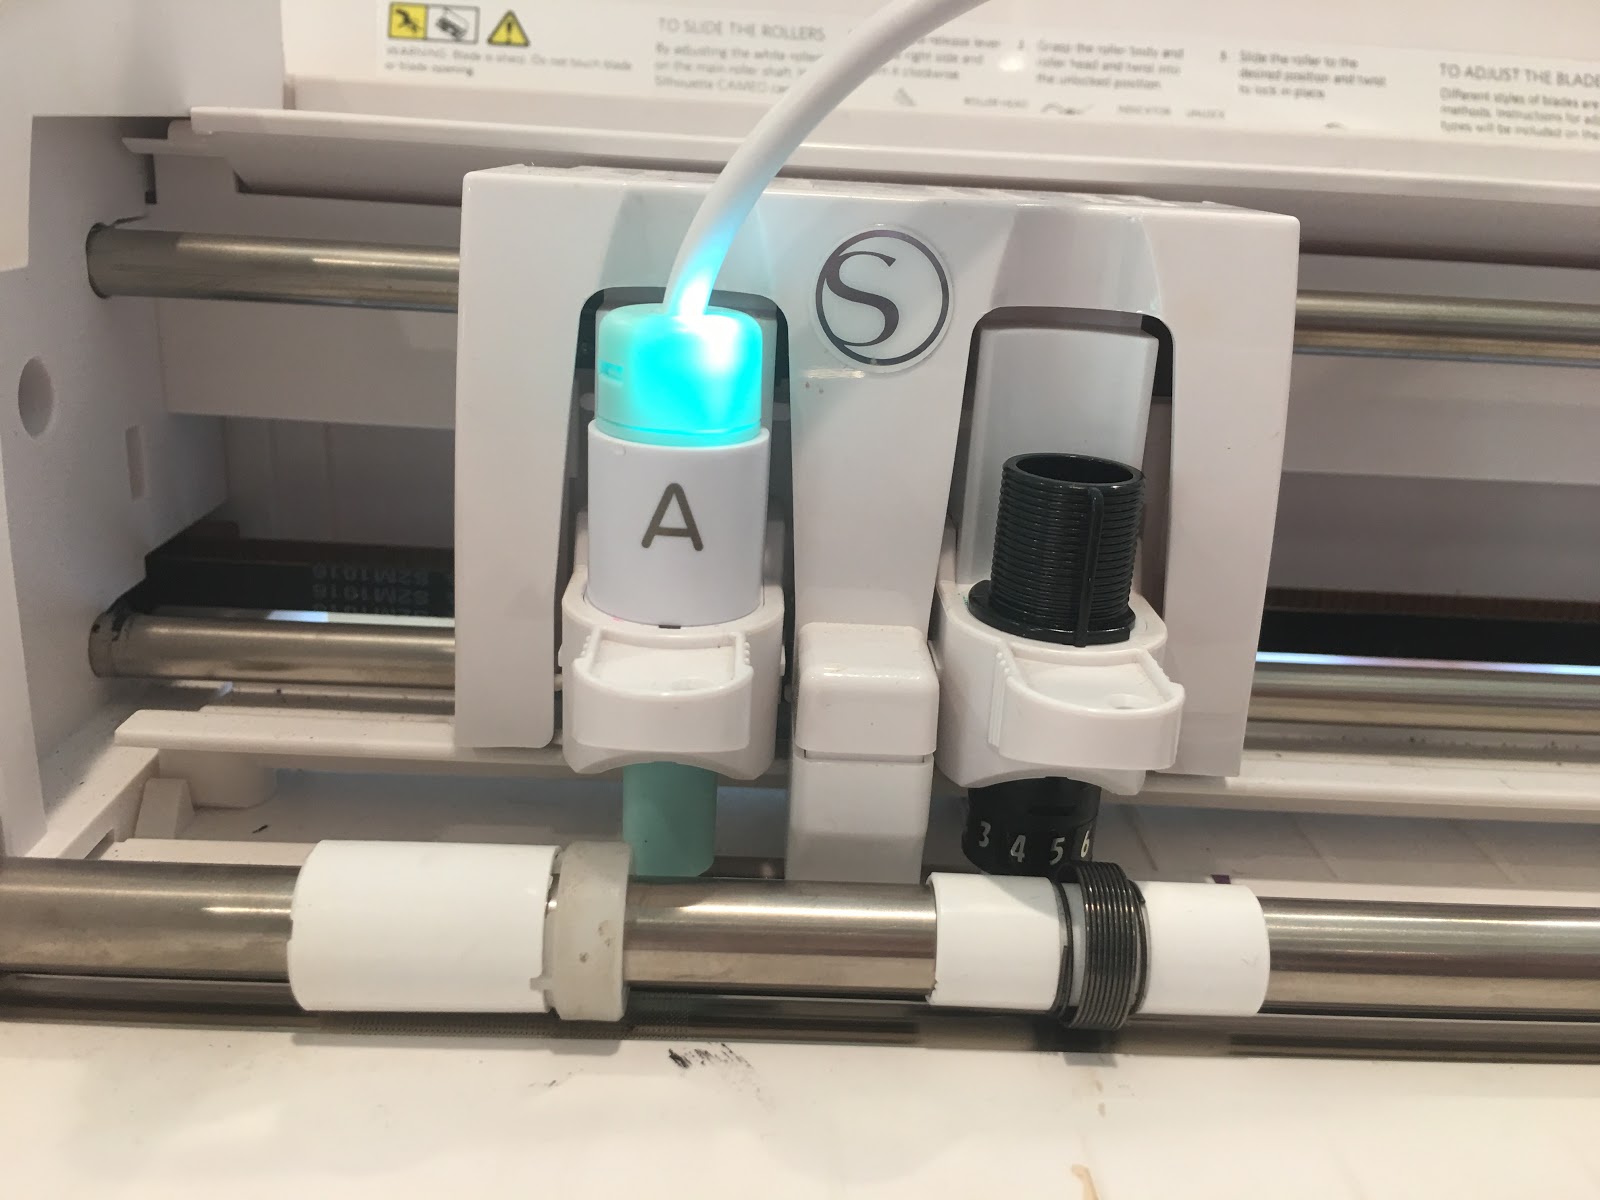
Start by placing the Foil Quill (the tip size is up to you) with the Silhouette adapter on, in the left tool carriage of the Silhouette CAMEO 3. Plug the USB into an outlet - NOT the USB port on the Silhouette machine. Let it heat up for about 5 minutes.
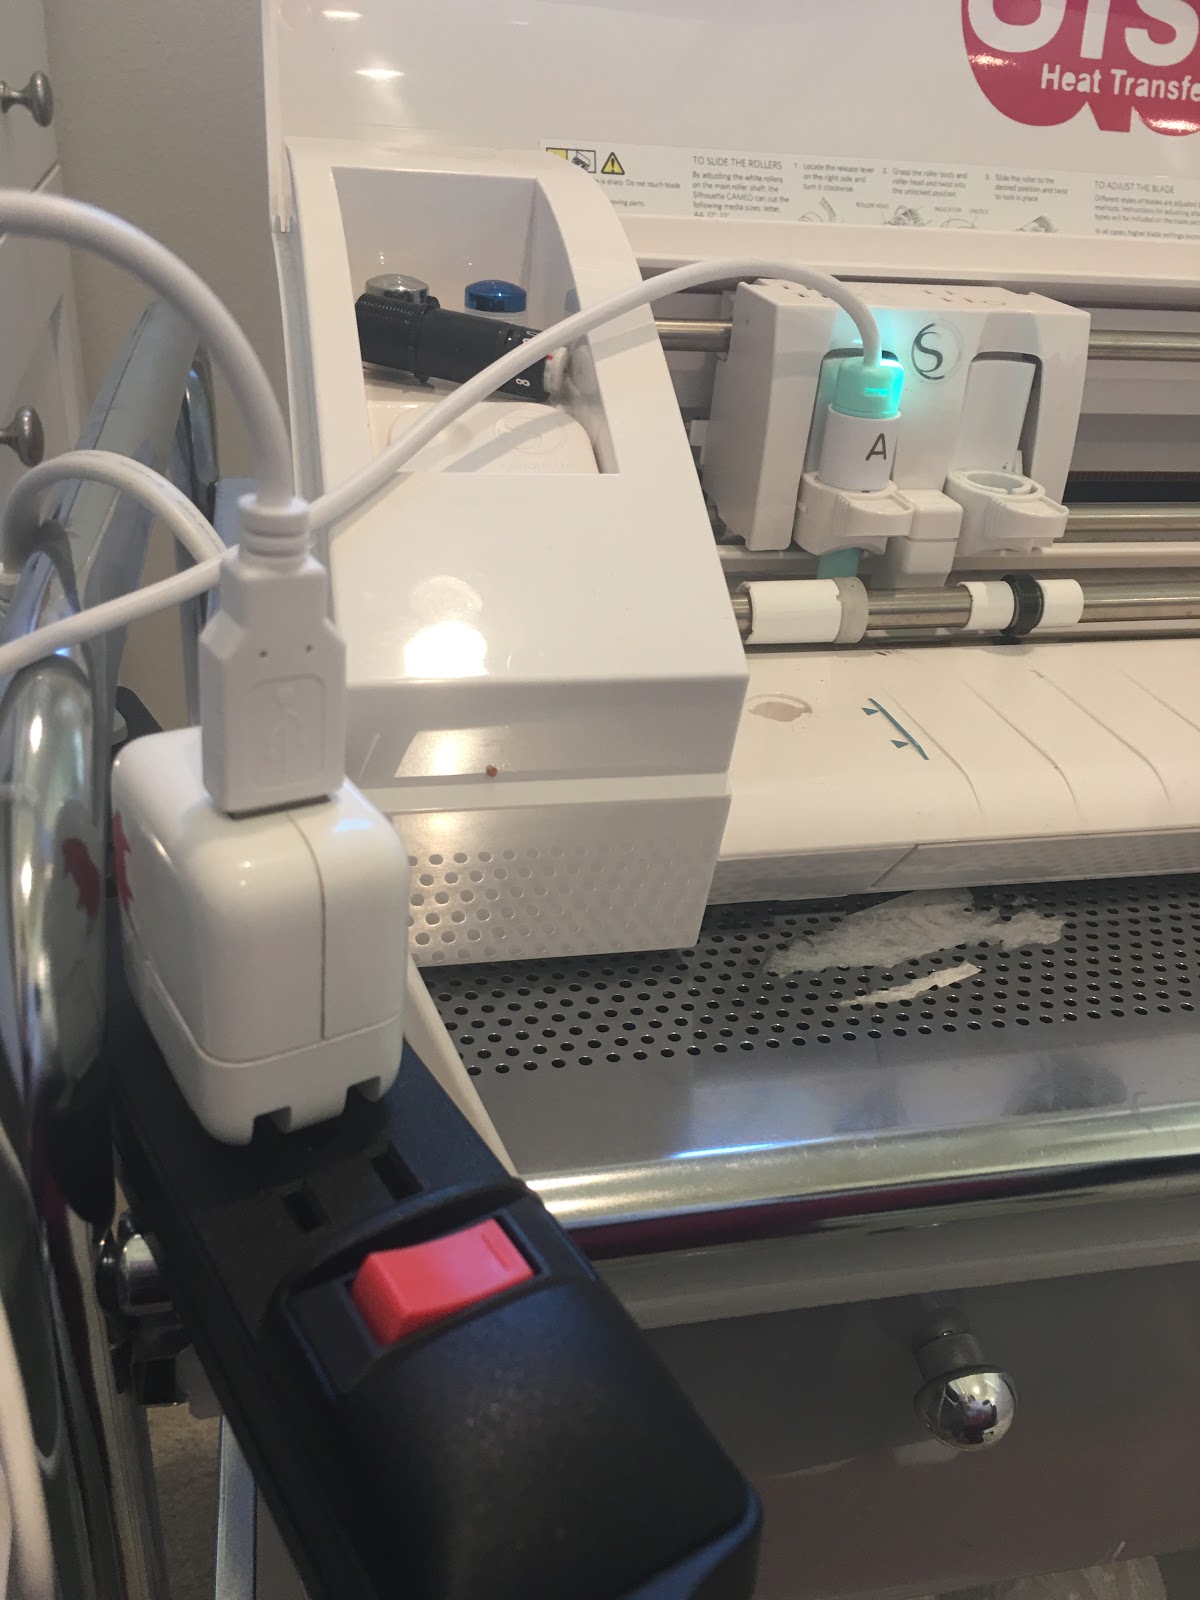
Adjust the Silhouette Ratchet Blade to the recommended blade depth of 1 for glossy vinyl and place it in the blue/right tool carriage.
Working on a flat surface, put a sheet of adhesive vinyl on your Silhouette cutting mat. Make sure there are no wrinkles and that it's stuck down really well.
I am using this black glitter adhesive vinyl from Swing Design.

Take a piece of foil and place it over the vinyl in the same area where the design is in the Silhouette Studio work area. Be sure the foil covers that entire area to be foiled.
Use the tape that came with your Foil Quill Kit or washi tape to tape down all four sides of the foil. Pull each side taunt as you tape making the foil as flat and tight as possible. It's easiest to do this if you put half of the strip of tape on the foil first then pull out and tape down onto the vinyl.
Click here to visit the Silhouette School Blog for the next steps!