HOW TO CLEAN AND RESTICK A SILHOUETTE CUTTING MAT
May 02, 2019

While I happen to be in the "Just Buy a New Mat" camp, I know a lot of you prefer to try to extend the life of your cutting mats by re-sticking them.
Since you all went pretty much crazy over my tip on how to easily clean Silhouette cutting mats I figured why not just give the people what they want...
Tips on How to Resticky Your Cutting Mat!
So here's my standard 12 x 12 Silhouette brand mat that has been severely used and abused. I think at one point I was even taping my cardstock on the mat because it had absolutely no stick left!
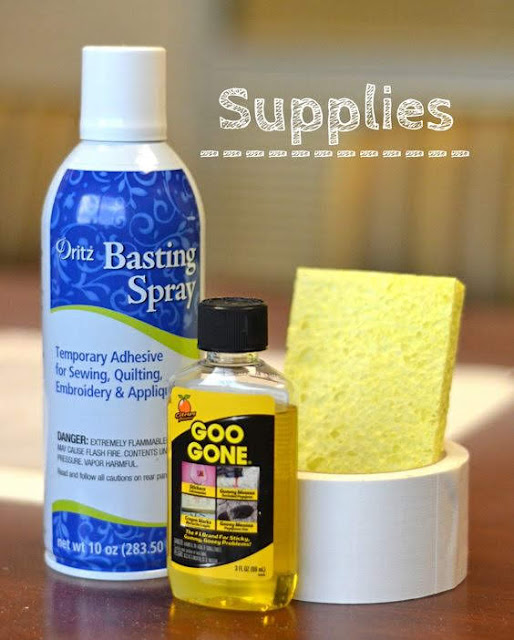
For this tutorial on how to restick a Silhouette mat, your supplies will be: Goo Gone, kitchen sponge, dish soap, spray adhesive and tape. This is a two part process - first the cleaning and removal of the original adhesive and then the resticking process.
Cleaning a Dirty Silhouette Cutting Mat
1. Take the dirty Silhouette cutting mat and lay it on a flat surface, such as a counter or table.
2. Open the bottle of Goo Gone and dribble a little around the mat.
3. Grab your sponge and start-a-scrubbin'. You should be able to see all the nasties coming off your mat.
4. Once I feel fairly certain that the old sticky is gone, grab the dish soap and give your mat a good washing. You can use the same sponge.
5. Drag the Silhouette mat over to the sink for a rinse. If you see that you haven't gotten all the old sticky mess off, just repeat steps 2-4 until it's nice and clean.
6. Once clean, dry with a towel and set to the side. You want to make sure the mat is fully dry before applying the spray adhesive.
ReSticking a Silhouette cutting Mat
1. To restick the Silhouette mat (and another off-brand cutting mat), I used Dritz Basting Spray from my local Wal-Mart for less than $10.00.
2. Tape off the edges of your mats to prevent spraying adhesive on the entire surface. Why? Because you don't want adhesive where your rollers will make contact, it'll just gunk them up.
TO READ MORE, VISIT SILHOUETTE SCHOOL BLOG HERE
Also in Swing Design's DIY Blog

December 05, 2024
Discover why Uninet White Toner Printers are the perfect alternative to DTF and sublimation, offering unmatched versatility and ease of use. With a wide range of compatible media and specialty toners, you can create stunning designs on garments, hard surfaces, and more. Elevate your printing game with this all-in-one solution for endless creative possibilities!
Continue Reading

November 15, 2024
Swing Design proudly announces its partnership as BAi Embroidery’s first reseller, expanding access to BAi's multi-needle embroidery machines for creators and businesses. This collaboration combines Swing Design’s design equipment expertise with BAi’s top-tier embroidery technology, empowering users with more options for creative and efficient projects.
Continue Reading

September 24, 2024
Discover how Swing Design caters to all customers with flexible purchasing and payment options. Whether you're a business or an individual, find the perfect solutions tailored to your needs. Explore the wide range of offerings that make shopping easy and accessible for everyone!
Continue Reading


