SILHOUETTE SKETCH PENS TUTORIAL FOR BEGINNERS
by Alyssa Smith April 11, 2019

Click here to purchase sketch pens.
If you're new to Silhouette Sketch pens this beginner tutorial will walk you through step by step on how to draw with your Silhouette cutting machine.
It's best to think of a Silhouette sketch pen just like the auto blade or ratchet blade as far as how it will draw. Instead of cutting however, when a pen is in the carriage, the machine will sketch.
To use Silhouette Sketch pens for the first time, start in Silhouette Studio by opening your design in the Silhouette design space aka work area. Pretty much any design that can be cut can be sketched.
To practice, find a design from your Silhouette Studio library that you want to sketch with a single color sketch pen.
With the design open, size it, and position it on the virtual cutting mat so it's in an area that will be covered by paper on your actual cutting mat.
When you're ready, click the Send button along the top to open the cut settings.
From the material list pick Cardstock or another type of paper.
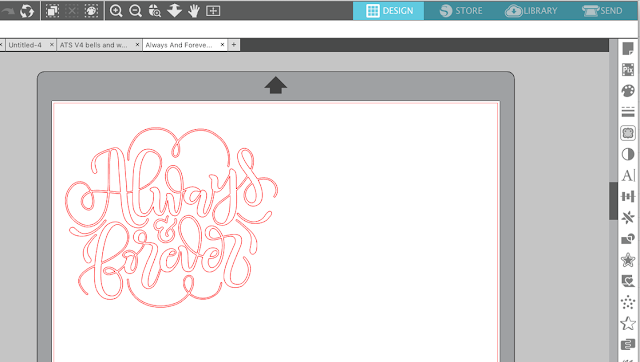
In the same panel under Tool Type select "Sketch Pen." This will automatically change the Action by: "Cut", "No Cut" and "Cut Edge" to "Sketch", "No Sketch", and Sketch Edge". Make sure "Sketch" is selected so the sketch lines are turned on which is indicated by bold red lines.
In Silhouette Studio, the design will look the same as if you were going to cut it.
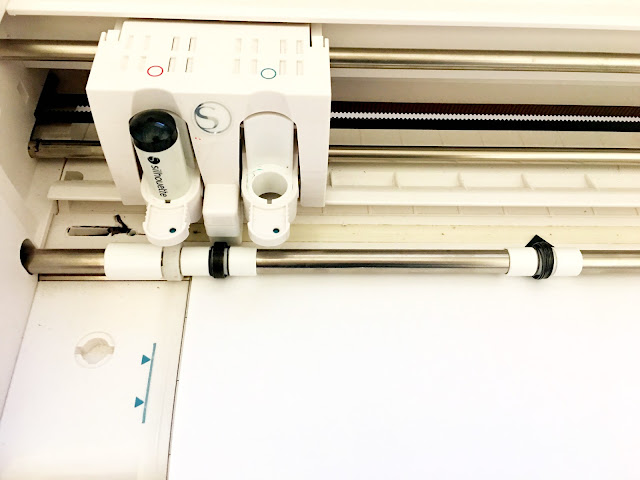
Take your sketch pen and place it into the left tool carriage on your Silhouette CAMEO 3, Portrait 2 or Curio. If you have a Silhouette cutting machine with just a single carriage, place the pen in there.
Sketch pens can be used in all of the Silhouette CAMEOs, Silhouette Portraits, and Curio.


